Are you planning to upgrade your flooring with long-lasting elements that will also improve the value of your house?
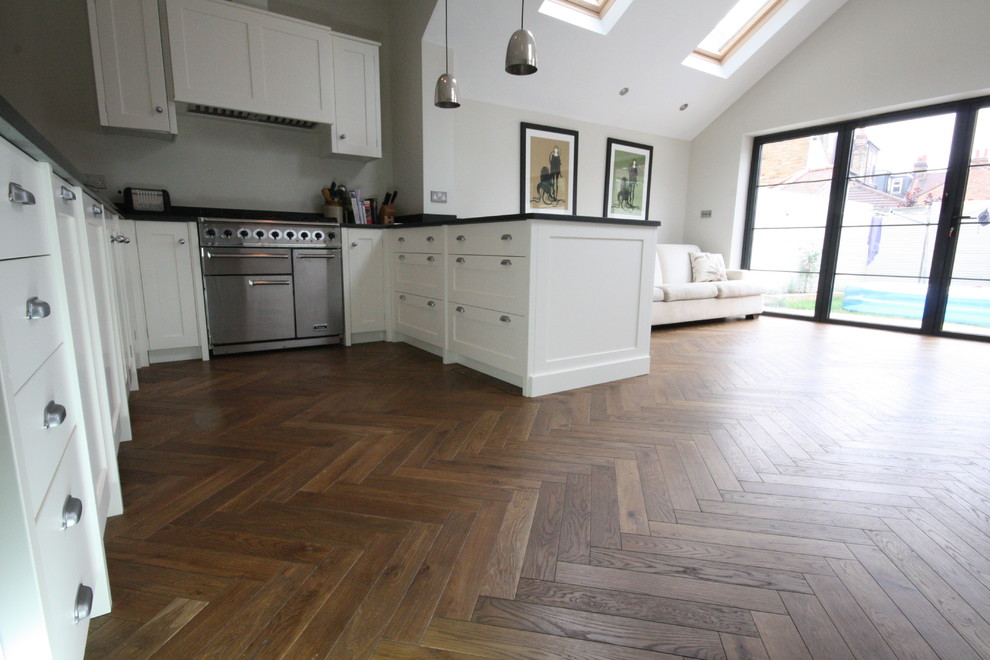
Here is the best solution, which is Herringbone wood flooring.
You will benefit from this product which is considerably cleaner than carpet and looks more natural than laminated, in which herringbone flooring installation lasts longer.
Though herringbone flooring is the only choice that provides a traditional look at an attractive price, it may not be the cheapest option.
Nowadays, herringbone flooring is one of the most popular floorings for homes.
Herringbone flooring installation
Equally sized rectangular blocks are partly spaced in a zigzag pattern to create herringbone flooring. Every wooden piece has a pre-cut 90° at each corner, creating a beautiful pattern Herringbone flooring looks fantastic for both modern and traditional houses.
You can check our social media platforms and how our professionals have installed herringbone flooring.

5 Tips for Successful Herringbone Installation
Get the floor ready before installing.
Plan the Design
Measure the room.
Mix & Match Planks colors
Read the Instructions Carefully
1. Get the floor ready before installing.
Take some time setting up the space before you start putting out the herringbone pattern or installing the flooring. Look to see if the subfloor is in good condition and is completely level. The subfloor must be totally dry, clean, stable, and flat. In DIY stores, you can purchase simple electrical moisture meters the flooring needs to be level and the flatness tolerances need to be followed.

2. Plan the Design
A nice finish depends on knowing where the herringbone pattern should fall. The central V pattern of parquet flooring needs to be aligned with the most crucial sight line because it has such a powerful visual impact. This might be the room’s primary entryway, but it could also be another essential design element like a decorative light fixture, a bay window, or a focal fireplace.

3. Measure the room.
Use the tape measure to pinpoint the room’s middle when you’re ready to start working on the design. Next, create a line from one wall to the other along the center of the room using the chalk line. You’ll also need to draw out the rectangular field that the herringbone design will fill because it didn’t accept the entire floor area. To draw the border, use a chalk line and a tape measure. Draw a chalk line down the length of the room’s middle. Then, mark a perpendicular line with a trammel: Draw a semicircle around the centerline, starting at one end where the trammel’s point is; then, as indicated, draw intersecting arcs from the other end.

4. Mix & Match Planks colours
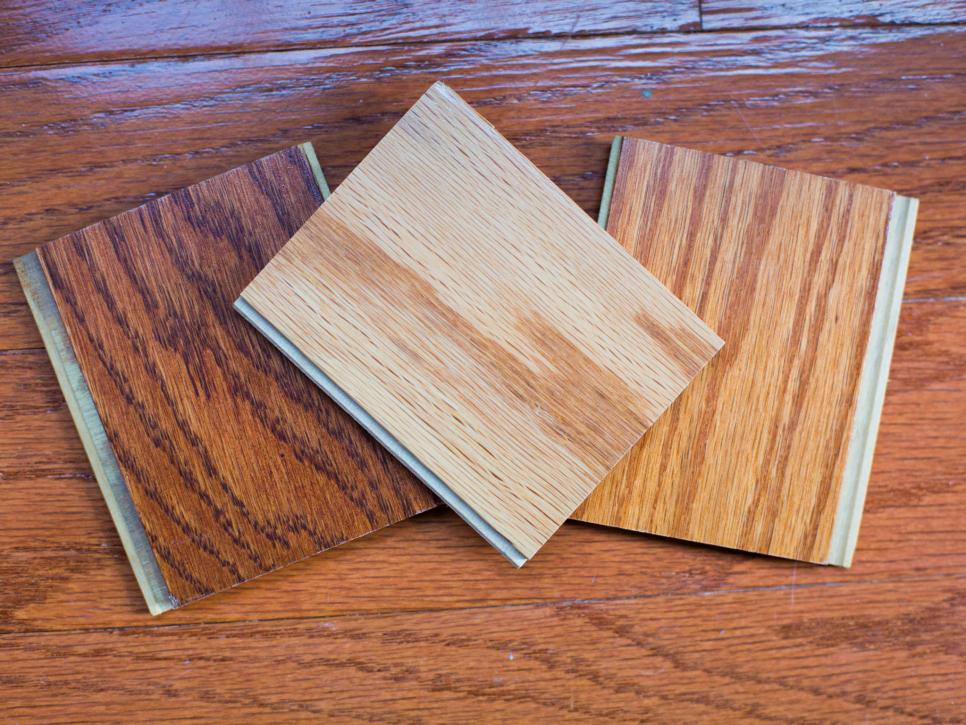
Mixing parquet blocks from different packs is usually an excellent strategy. Still, herringbone – especially real wood herringbone could offer a remarkable array of visual effects due to its variable grain direction. As a result, a nice equal mix of blocks from various packs will assist in preventing any unwanted patches or strips of similar texture or colour, resulting in a floor with beautiful colour variation.

5. Read the Instructions Carefully.
We understand how tempting it is to skip the instruction and get right into the installation, but this is an essential component. Even if floors are of the same type, such as engineering, there may have different installation requirements.
We hope these tips help you to install herringbone flooring. Still, if you have any doubts and getting confused with measurements or colour variations and some other requirements, feel free. Contact us, we have professional and well-trained installers to get your Herringbone Flooring Installation to your home

